
Flipkart Seller Registration 2026: Step-by-Step Guide (Documents, GST & First Listing)
Quick answer
To register as a Flipkart seller, open seller.flipkart.com, start the sign-up form with your name, mobile number, email and a password, then enter your GST details (GSTIN, legal business name and business type) and upload the documents asked for. After the GST is verified, add your store name, pickup address, shipping settings and bank account, then list your first product to start selling.
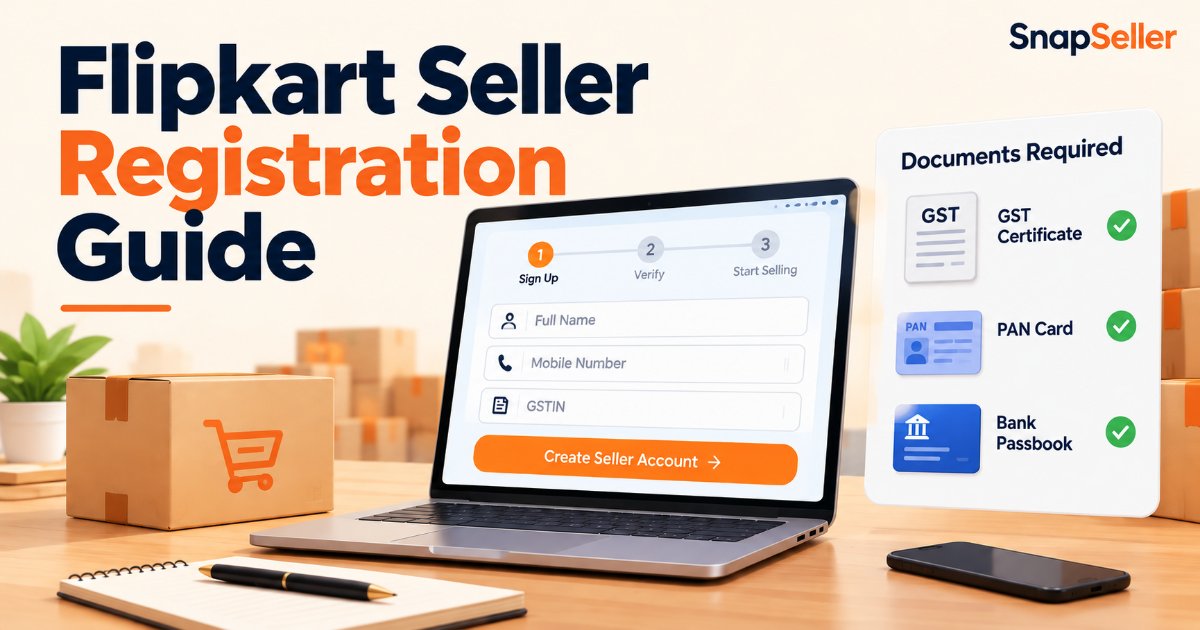
Want to sell your products on Flipkart but not sure where to start? This guide walks through the whole registration in order: who can register, the documents to keep ready, the GST requirement, the sign-up steps themselves, the problems that stop most new sellers, and what to do in your first week. Everything happens on the Flipkart Seller Hub at seller.flipkart.com, and Flipkart's own official registration guide describes the same process.
Who Can Register as a Flipkart Seller?
Flipkart seller registration is open to individuals and businesses in India who can provide a GST identity, a bank account and a pickup address. In practice that includes manufacturers, wholesalers, traders and resellers, and small home-based businesses selling products they make or source. When you sign up, you declare a business type such as proprietorship, partnership or company, so decide before you start who the legal seller is and use that identity for every field.
What Flipkart needs is that the details you enter belong together. The mobile number, email, GST registration, PAN and bank account should all point to the same person or business, because the GST number is verified against government databases and payments are sent to the bank account you add.
Documents You Need Before You Start
The sign-up form can be completed in one sitting if you collect everything first. Keep these items open in another tab or in front of you:
| Item | Why Flipkart asks for it |
|---|---|
| Full name, mobile number and email | Used to create the account and to receive the one-time password and updates at sign-up |
| GSTIN | Flipkart asks for your GST identification number before you can sell; its own seller guide lists GST registration as mandatory for Seller Hub |
| Legal business name and business type | Must match your GST registration: proprietorship, partnership or company |
| GST certificate | Uploaded as proof of your GST registration during sign-up |
| PAN card | Identifies you and your business and ties them to the tax and bank details you enter |
| Address proof | Confirms the physical location of the business, such as an electricity bill, rent agreement or ownership papers |
| Bank account number and IFSC | The account your payments (settlements) are sent to |
| Pickup address | Where Flipkart logistics partners collect your orders from |
| Product photos and details | Needed for your first listing once the account is ready |
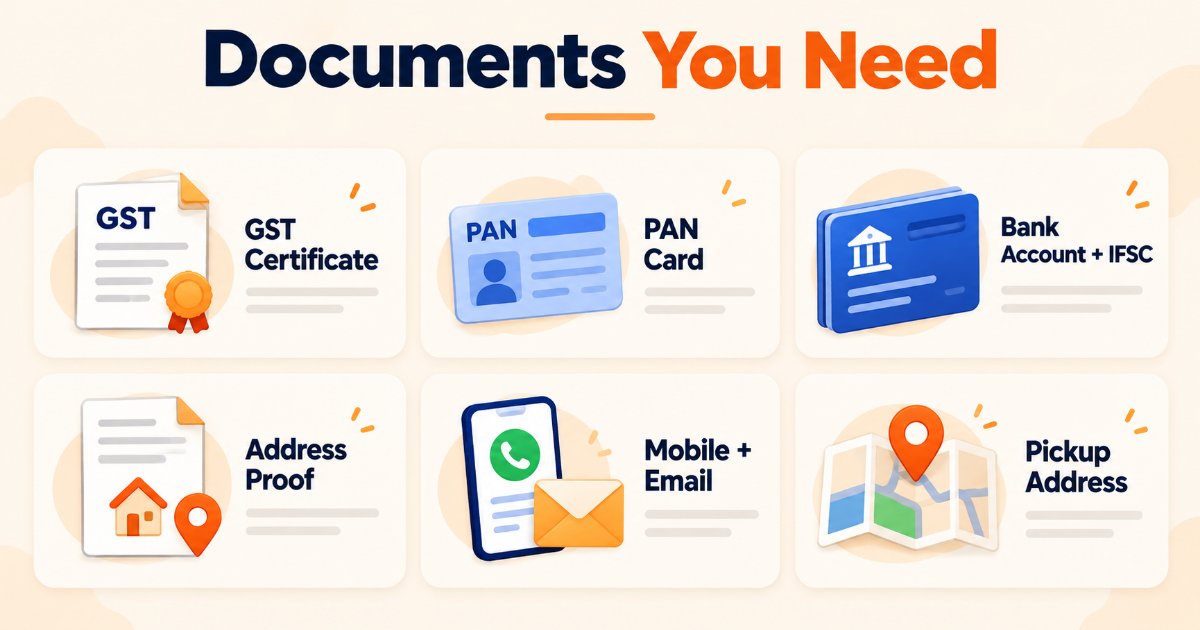
Two small habits save a lot of trouble later. First, copy numbers such as the GSTIN and IFSC from the original document instead of retyping them from memory. Second, use an email address you actually read, because that is where Flipkart writes if it needs a document or a correction.
Do You Need GST to Sell on Flipkart?
Plan on having a GSTIN. Flipkart's own seller guide lists GST registration as a mandatory requirement for registering on the Flipkart Seller Hub, and during sign-up you are asked for your GSTIN, legal business name and business type, plus an upload of your GST certificate.
Under GST rules, registration is compulsory for businesses above the turnover threshold of Rs 40 lakh for goods and Rs 20 lakh for services, as explained in Flipkart's GST documents guide. If you do not have a GSTIN yet, you can apply for one on the official GST portal; Flipkart's guide lists the documents GST registration needs: PAN, email and mobile, address proof, bank details, a digital signature and proof of business registration. Which registration fits your situation is a tax question, so ask your accountant, and confirm the current rules on seller.flipkart.com before you apply.
How to Register on Flipkart: Step-by-Step
These are the registration steps in the order Flipkart's official guide describes them. Button names and screen order can differ slightly, so use this list as a map rather than a script.
- Open the Seller Hub and start the formGo to seller.flipkart.com in a desktop browser and choose Start Selling. The form first asks for your full name, email address, contact number and a password. Enter them carefully, because they become the base of your account.
- Enter your GST details and upload documentsAdd your GSTIN, the legal business name exactly as it appears on your GST registration, and your business type (proprietorship, partnership or company). Upload the scanned documents the form asks for, typically your GST certificate, PAN card and address proof.
- Wait for GST verificationFlipkart cross-checks the GST number you entered against government databases to confirm it is genuine. This is usually quick, but every detail must match your GST records exactly, so fix any mismatch at the source instead of re-trying with a different spelling.
- Choose your store namePick the display name buyers will see. Follow Flipkart's naming guidelines and choose something unique and memorable, because a name that conflicts with an existing store can be rejected.
- Complete your pickup addressGive the address from which Flipkart's logistics partner will collect your parcels, with the correct pincode and enough detail for a driver to find you.
- Submit your shipping detailsSet the regions or pincodes you will ship to and your shipping rates based on distance, weight and delivery speed, so buyers can see delivery feasibility before they order.
- Add your bank detailsEnter the account number and IFSC of the bank account that should receive your payments. Use an account that matches your business or proprietor details to avoid verification failures.
- List your first productOpen the seller portal and create your first listing with a clear title, a complete description, high-quality photos from different angles, accurate pricing and the right category so buyers can find it.
- Start your seller journeyWith the account set up and a product listed, manage inventory, process orders on time and watch the seller dashboard for sales data and performance metrics.
Tips for the details steps
When you enter the GST details, type the GSTIN and legal business name exactly as they appear on your GST certificate, because Flipkart verifies them against government records and a small mismatch stops the application. For the pickup address, write it the way a courier needs it, with the building or shop name, street, area and a nearby landmark. For the bank account, prefer an account that you control and that matches your registration, because every settlement goes there and changing it later can mean extra checks.
How Long Does Flipkart Seller Verification Take?
Flipkart does not promise one fixed timeline in the sign-up flow, so this guide does not quote one either. GST verification is usually quick when every detail matches your GST records. Watch the places where status is shown: the seller dashboard once you log in, and the email address you registered, where Flipkart writes if it needs a document or a correction. If your account looks stuck, contact seller support instead of creating a second account.
Common Registration Problems & Fixes
Find your symptom in the first column and try the matching fix.
| Problem | Likely cause | Fix |
|---|---|---|
| GSTIN is rejected or already registered | A typing error, an inactive GST registration, or a number already linked to another Flipkart account | Re-check the number against your GST certificate, confirm on gst.gov.in that the registration is active, and if it is already in use, contact Flipkart seller support from the sign-up help link. |
| OTP does not arrive | Network delay, a mistyped number or a number blocked from SMS | Check the number, wait a few minutes before asking for another code, and try again from a different network. Avoid requesting codes repeatedly. |
| Store name is not accepted | The name conflicts with an existing store or breaks Flipkart's naming guidelines | Try a clearly different name without another brand's name in it, and keep it short, unique and easy to spell. |
| Bank account verification fails | A wrong account number or IFSC, or an account holder name that differs from your business or PAN details | Compare the number and IFSC with your passbook or cheque, and use an account whose holder name matches your registration. Contact support if it still fails. |
| Pickup pincode is not accepted | The pincode may be mistyped, or Flipkart logistics may not cover that area yet | Confirm the six-digit pincode, and if it is correct but still rejected, ask seller support what pickup options are available for your area. |
If none of these fixes works, contact Flipkart seller support and describe the exact message you see, with the date and the mobile number involved. Never share your OTP or password with anyone claiming to help you register: Flipkart does not ask for them, and a page asking for a fee to open a seller account is not official.
After Registration: Your First 7 Days on Flipkart
Getting the account approved is only the start. A simple first week looks like this:
Days 1 to 2: learn the Seller Hub and list your first product
Sign in and spend an hour clicking through the menus so you know where orders, returns and payments will appear. Our Flipkart seller login guide covers sign-in and its common problems. Then create one listing with clean front-facing photos, an accurate weight and the correct category, so you learn the form without risking dozens of listings.
Days 3 to 4: price it properly
Check your price against fees, shipping and the cost of returns before you publish more. Our Flipkart seller fees guide explains every deduction, and the free Flipkart profit calculator lets you try a price and see what is left after deductions.
Days 5 to 7: sort out labels and dispatch
When the first orders arrive, you will download shipping label PDFs from the Seller Hub, and the free Flipkart label crop tool trims them to a 4x6 label in your browser so the sticker prints cleanly.
- Flipkart seller login guide. Learn to sign in to the Seller Hub and fix OTP or password problems before the first order arrives.
- Flipkart seller fees guide. See every fee and deduction that reduces your payout before you set a price.
- Flipkart profit calculator. Check your real profit after fees, shipping and returns before you publish a price.
- free Flipkart label crop tool. Trim Flipkart shipping label PDFs to a 4x6 label for your printer, right in your browser.
How to Log In After Registration
Once the account exists, sign in at seller.flipkart.com with the email or mobile number you registered and your password. If the OTP does not arrive or the dashboard will not open, the full walkthrough and fixes are in our Flipkart seller login guide.
Save Time on Labels and Catalogs With SnapSeller
Once orders start coming, label printing and catalog work become the slow part. The SnapSeller Chrome extension and free web tools help with that, and they are independent of Flipkart:
- Flipkart label crop. Trim label PDFs to a clean 4x6 sticker in your browser.
- Profit calculator. See what is left after fees, shipping and returns.
- Catalog autofill and bulk upload. Save seller profiles and prepare many products together instead of one form per product.
Browse all free seller tools for current pricing and the free launch access.
Frequently asked questions
How do I register as a seller on Flipkart?
Go to seller.flipkart.com, start the sign-up form with your name, mobile number, email and a password, enter your GST details and upload the documents asked for, then add your store name, pickup address, shipping settings and bank account. After verification you can list your first product.
Do I need GST to sell on Flipkart?
Flipkart's own seller guide lists GST registration as a mandatory requirement for registering on Flipkart Seller Hub, so plan to have your GSTIN ready. Under GST rules, registration is compulsory for businesses above the turnover threshold (Rs 40 lakh for goods, Rs 20 lakh for services, per Flipkart's GST guide). Check the current rules on seller.flipkart.com and gst.gov.in before you apply.
Is Flipkart seller registration free?
Flipkart does not list a fee for creating a seller account. Selling fees and other deductions apply on orders once you start selling, so read our Flipkart seller fees guide and confirm the latest rates on the official pages before pricing your products.
What documents do I need for Flipkart seller registration?
You need a mobile number, email, GSTIN, legal business name and business type as per GST, a scanned GST certificate, PAN card, address proof, a bank account with IFSC and a pickup address. Keep clear product photos and details ready for your first listing.
How long does Flipkart seller verification take?
Flipkart does not publish one fixed timeline in the sign-up flow. GST verification is usually quick when every detail matches your GST records. Watch your registered email and the seller dashboard for status, and contact seller support if anything looks stuck.
I registered on Flipkart — how do I log in now?
Open seller.flipkart.com and sign in with the email or mobile number you registered with and your password. Our Flipkart seller login guide covers OTP, incorrect credentials and locked account problems step by step.